In the previous post here I showed how to install Site Recovery Manager using embedded database. In this post I will show how to install Site Recovery Manager (SRM) 5.8 or 6.x using external database.
Installing Site Recovery Manager (SRM) with external database
To install Site Recovery Manager with external database please follow below steps (based on SRM 6.0, similar to 5.8):
Creating an external database on Microsoft SQL Server:
At first we need to create a database on Microsoft SQL Server. There are some prerequisites for database account as follows:
- You can use Integrated Windows Authentication or SQL authentication to connect to SQL Server. However Integrated Windows Authentication is recommended.
- When you use Integraed Windows Authentication, please use the database account during the SRM installation process. When the Site Recovery Manager installer detects an SQL Server data source name (DSN) that uses Integrated Windows Authentication, it configures Site Recovery Manager Server to run under the same account as you use for the installer, to guarantee that Site Recovery Manager can connect to the database.
- The Site Recovery Manager database must be the default database for all SQL connections that Site Recovery Manager makes. You can set the default database either in the user account configuration in SQL Server or in the DSN.
- The Site Recovery Manager database schema must have the same name as the database user account.
- The Site Recovery Manager database user must be the owner of the Site Recovery Manager database schema.
- The Site Recovery Manager database schema must be the default schema for the Site Recovery Manager database user.
- The Site Recovery Manager database user account has the ADMINISTER BULK OPERATIONS, CONNECT, and CREATE TABLE permissions.
To create a database please follow the steps:
- Log in to the SQL Server and run the SQL Management Studio.
- Create a SRM login.
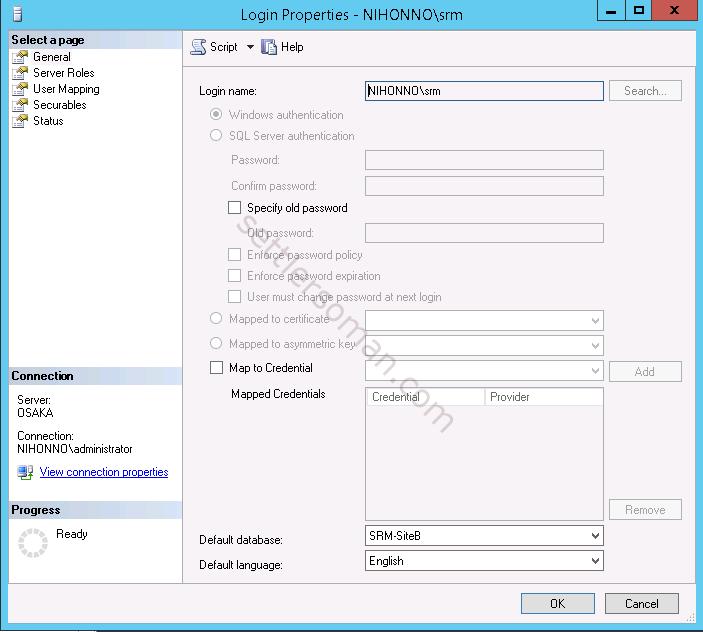
- Click User Mappings and specify the schema (the same as user). Select db_owner.

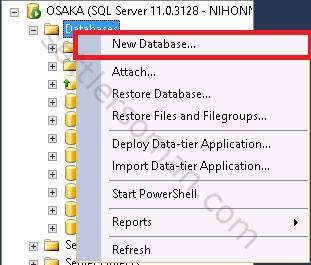
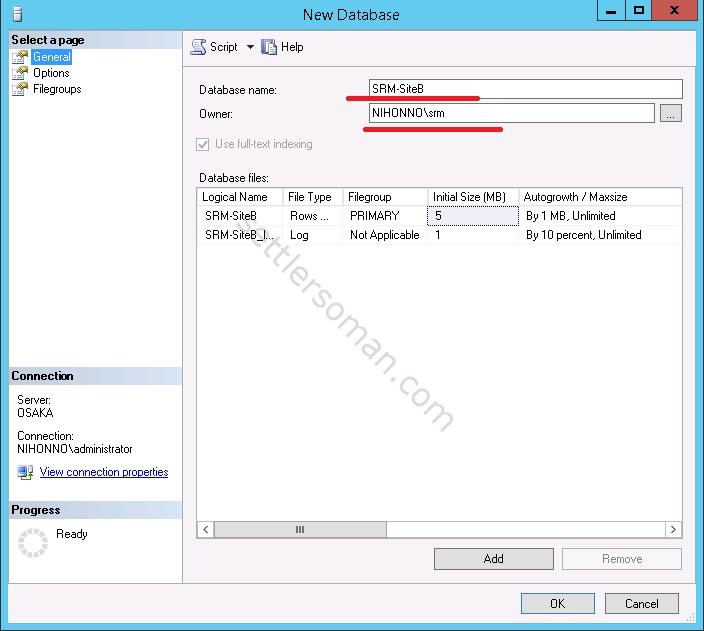
- Create a database and specify the above SRM login as database owner. Right click on Databases and select New Database.
- Type a database name and specify created login as a database owner.
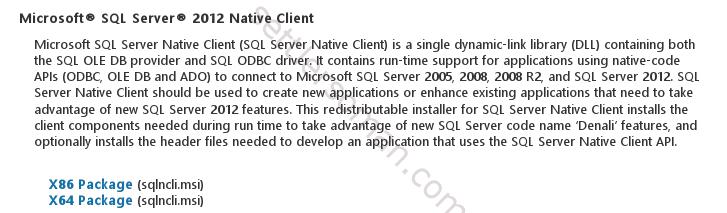
- Install the SQL Server Native Client 10.0 or SQL Server Native Client 11.0. You can download SQL Native Client 11.0 for SQL 2012 here. (sqlncli.msi X64)
Installing SRM with external Microsoft SQL database
- Double-click the Site Recovery Manager installer, select an installation language, and click OK. Click Next.

- Click Next.
- Follow the installer prompts to accept the license agreement, and verify that you satisfied the installation prerequisites.
- Enter information about the Platform Services Controller at the site where you are installing Site Recovery Manager and click Next.
- If prompted, verify the Platform Services Controller certificate and click Accept,
- Select the vCenter Server instance with which to register SRM and click Next.

- Select the default Site Recovery Manager plug-in identifier, or create a plug-in identifier for this Site Recovery Manager Server pair, and click Next. Both Site Recovery Manager Server instances in a of pair of sites must use the same plug-in identifier.
- Select a certificate type and click Next.
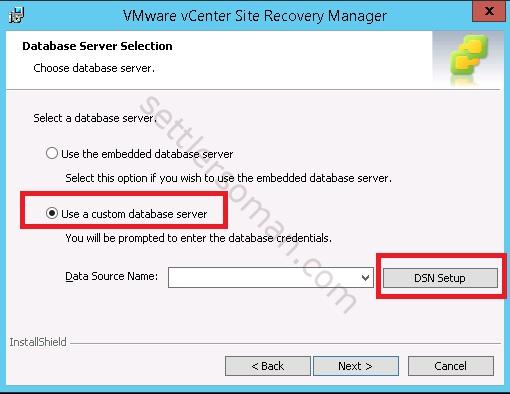
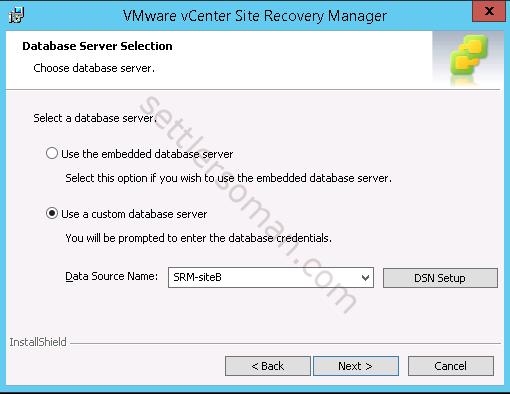
- Select whether to use a custom database, and click DSN Setup.
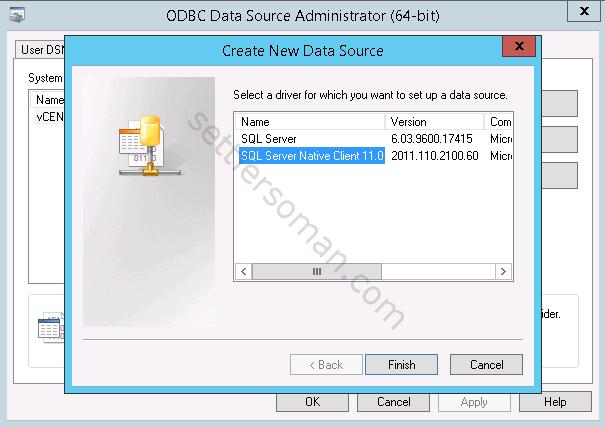
- Click the System DSN tab and click Add. Select SQL Server Native Client 11.0 installed earlier.Click Finish.
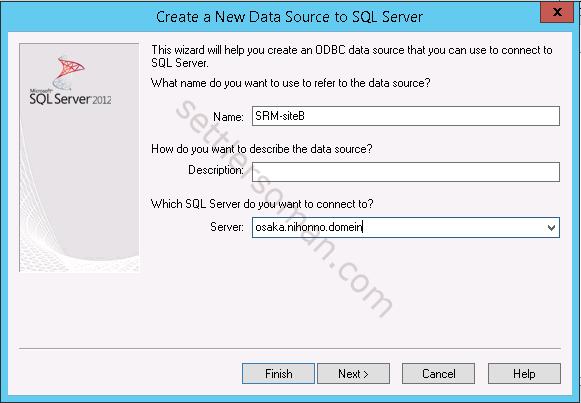
- Provide the details for the data source such as: a name for this data source and the running database instance to which to connect or enter the address of the database server.
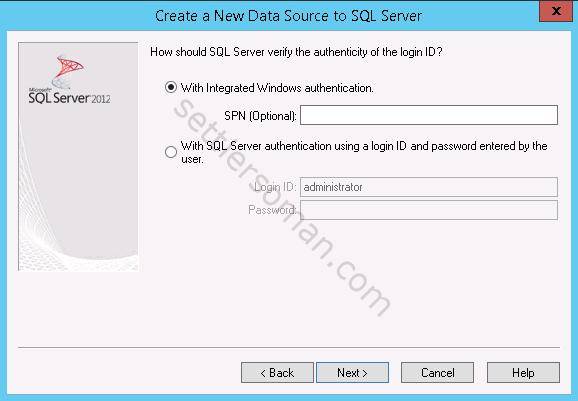
- Select the authentication method that corresponds to the type of database user account that you created and click Next. If you select Integrated Windows Authentication, you must use the same user account, or an account with the same privileges on the Site Recovery Manager Server host machine, when you run the Site Recovery Manager.
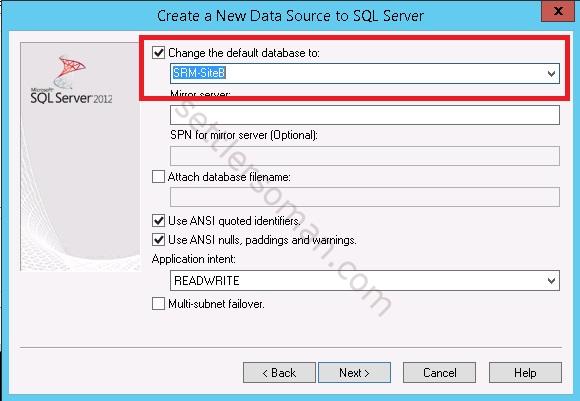
- Change the default database to database created earlier.
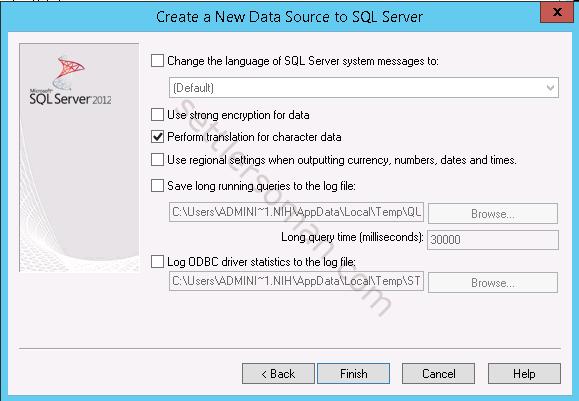
- Click Finish.
- Now you can select Data Source. If you still can not see the created DSN, just type manually the DSN it and click Next.
- You can specify connection count and max connections. Click Next.
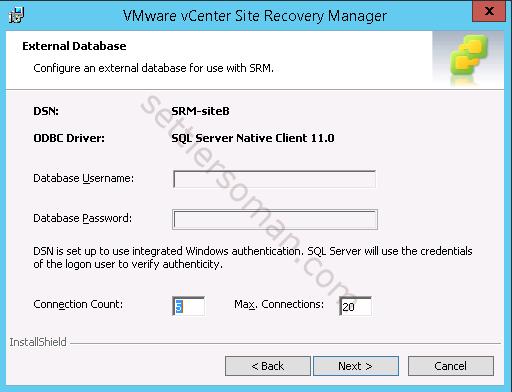
- Specify password for the user account under which to run the Site Recovery Manager Server service and click Next.
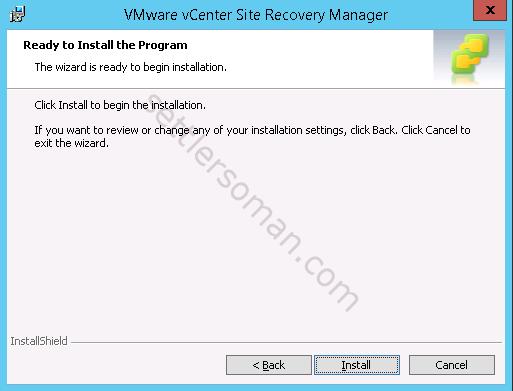
- Start the installation process.
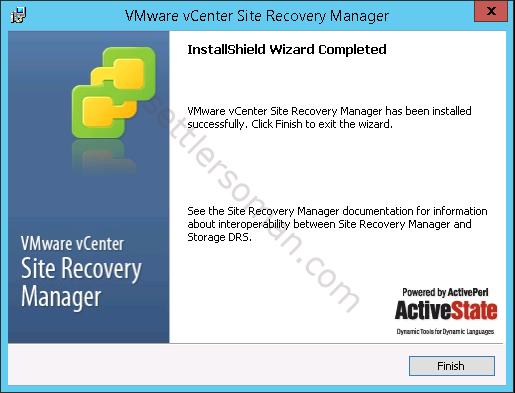
- The SRM should be installed successfully.
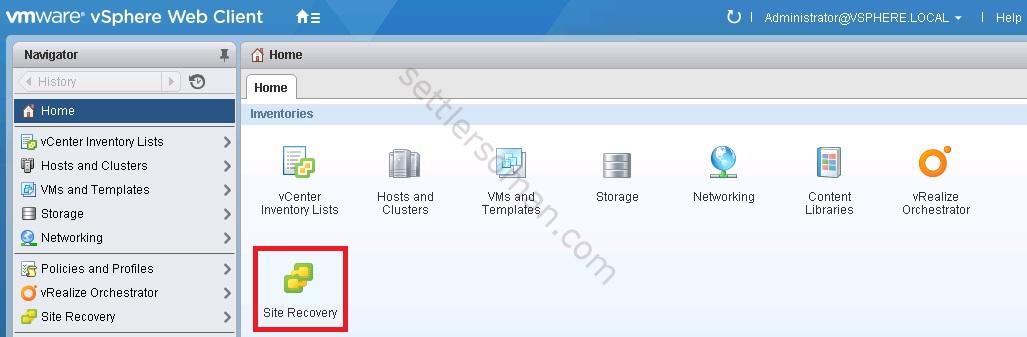
- When you log out and log back to the Web Client, you should see the SRM icon.
Note: All above steps should be repeated in the secondary (DR) site.