As I already mentioned, since NSX 6.2.3, all vSphere customers with Essential Plus or higher can use NSX Edpoint for antivirus offloaded protection. When you deploy NSX Manager and register it to vCenter, you can find a "NSX for vShield Endpoint" license in the vCenter license inventory:
vShield Manager was EOL in September this year so migration (upgrade or fresh install) to NSX Manager is highly recommended. In this post I will show how to prepare NSX for integrating with 3rd antyvirus such as McAffee or Symantec.
- Deploy NSX Manager and register it to vCenter.
- Create an IP Pool for Guest Interospection VMs (a service virtual machine on each host in the cluster):
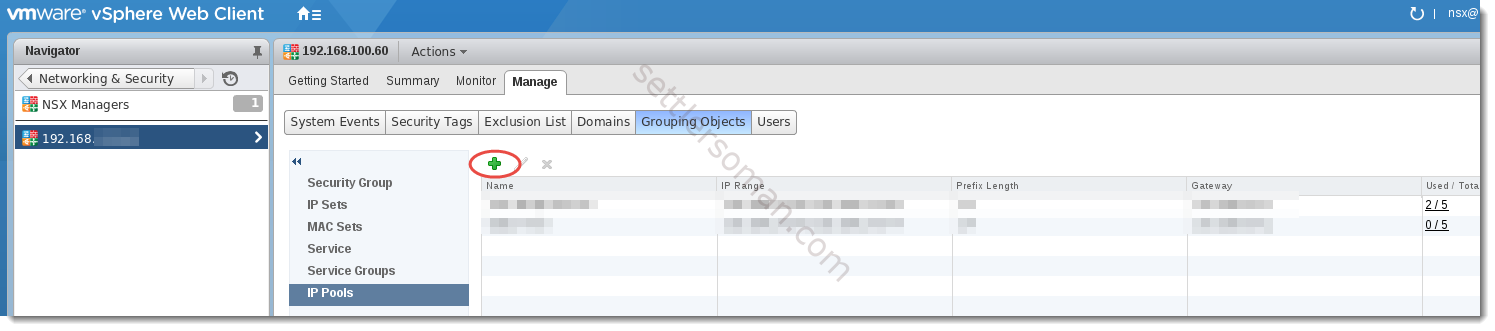
- Click Networking & Security and then click NSX Managers
- Click an NSX Manager in the Name column and then click the Manage tab.
- Click the Grouping Objects tab and then click IP Pool.Click the Add New IP Pool icon.
- Type a name for the IP pool and type the default gateway.
- Type the primary and secondary DNS and the DNS suffix and the prefix length.
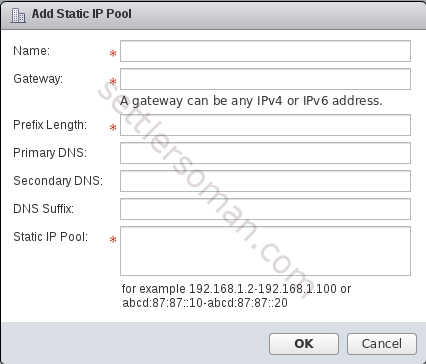
- Type the IP address ranges to be included in the pool and click OK.
- Deploy Guest Introspection VMs for vSphere Cluster.
- On the Installation tab, click Service Deployments.
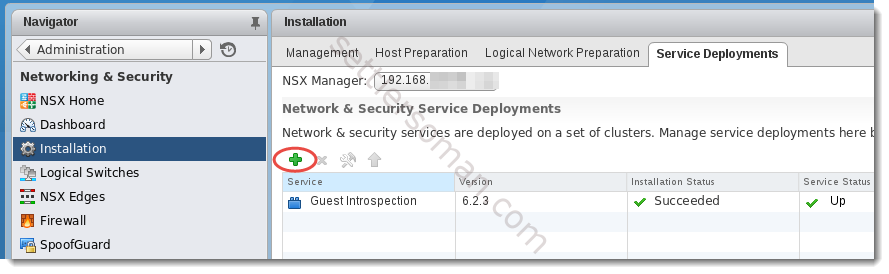
- Click the New Service Deployment icon shown on the above figure.
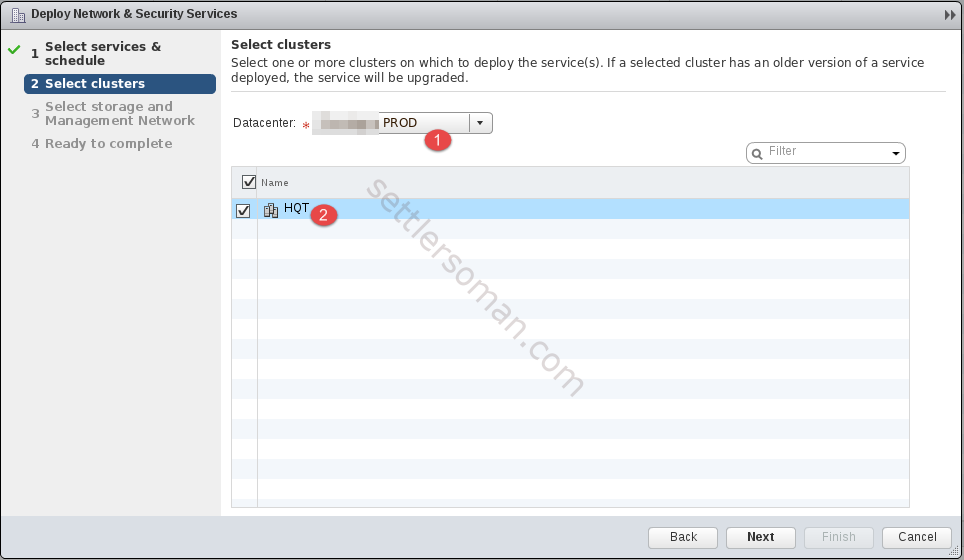
- In the Deploy Network and Security Services dialog box, select Guest Introspection.
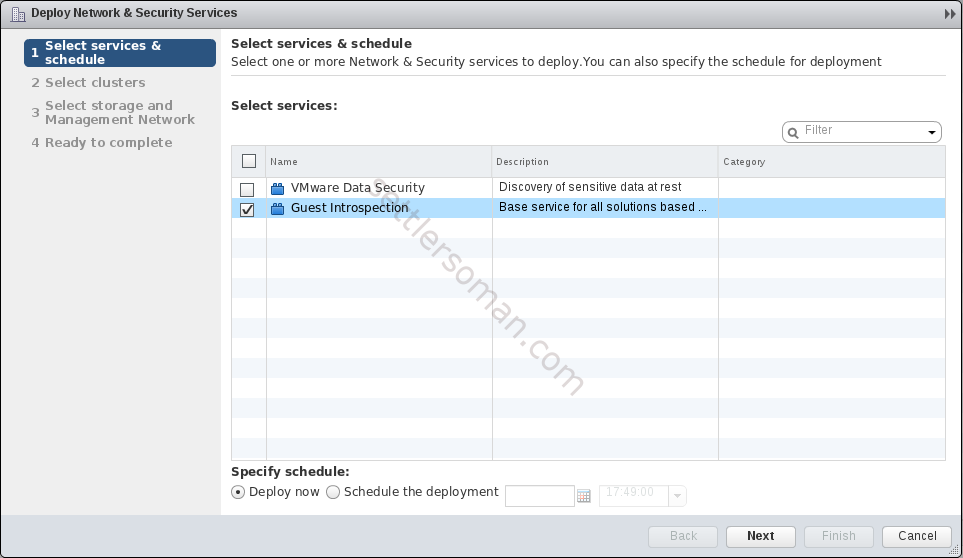
- Select the datacenter (1) and cluster (2) where you want to install Guest Introspection, and click Next.
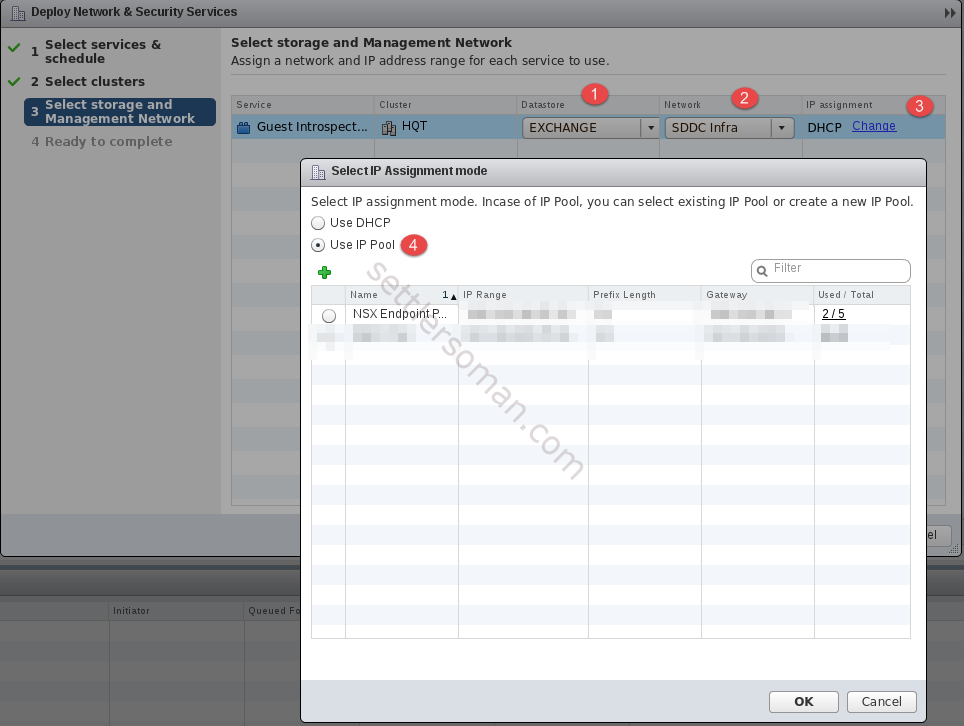
- On the Select storage and Management Network Page, select the datastore on which to add the service virtual machines storage (1). Select the distributed virtual port group to host the management interface (2). In IP assignment, select a pool created in the earlier steps (3)(4).
- Click Next and then click Finish on the Ready to complete page.Wait when until the Installation Status column displays Succeeded.

- On the Installation tab, click Service Deployments.
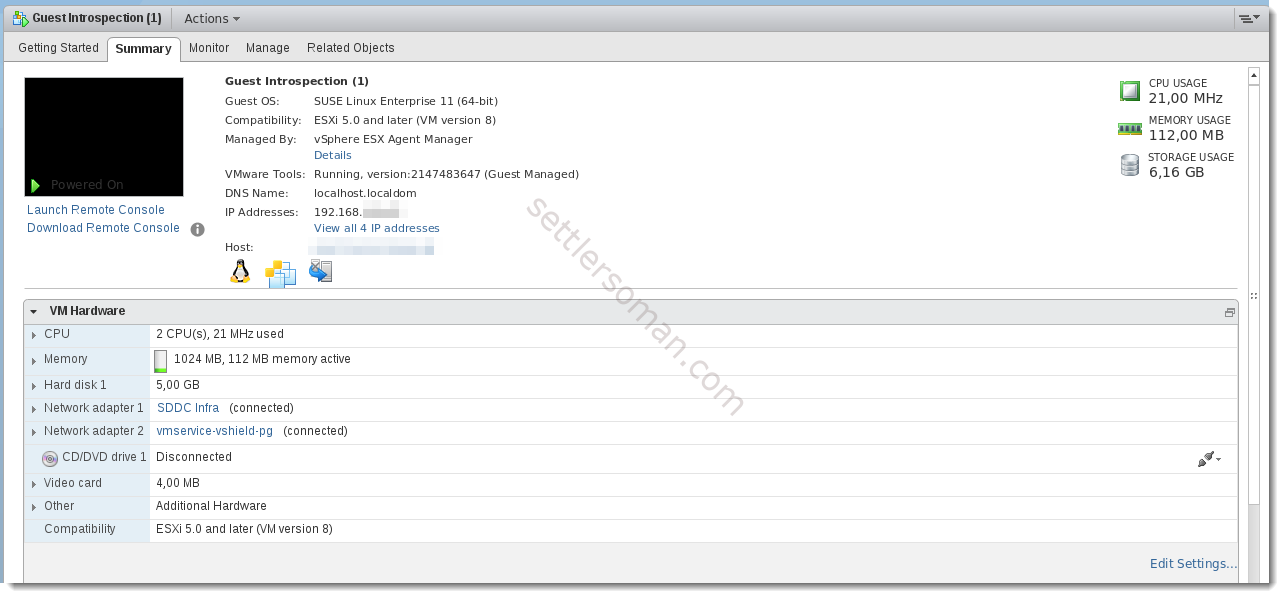
- There should be deployed some VMs - on each ESXi host in the vSphere cluster. Those VMs belong to ESX Agent resource pool.

- Each Guest Introspection VM (based on SUSE Linux) has the following hardware specification - 1GB RAM, 2 vCPU.
- NSX Endpoint is ready. Now please follow the 3rd party guide to install and integrate antivirus with NSX.
Summary
NSX Endpoint installation is easy and straightforward. If you need to migrate from vShield Manager to NSX Manager and you use it only for antyvirus protection (e.g. no vShield edges) , I recommend you to perform a fresh installation. You can easly remove vShield Manager plugin from vCenter using MOB.