One of new NetBackup feature in 7.6 for VMware is plugin for VMware vCenter. In this article, I will show how to deploy and configure this plugin for monitoring backups of virtual machines.
NetBackup Plugin for VMware vCenter provides monitoring and recovering virtual machines backups and deplyed as a virtual appliance (OVF file). It supports only vSphere Client.
NetBackup Plugin requirements
Before we start to deploy, install and configure NetBackup Plugin, we should discuss the most important plugin requirements:
- VM Hardware: 2 vCPU, Min, 4 GB vRAM, Min. 24 GB of disk space on the datastore
-
VMware versions: vCenter Server version 4.0 and later, vSphere Client version 4.0 and later
- NBU Version: For just monitoring virtual machine backups - NetBackup 7.5 and later; To recover VM from backup: NetBackup 7.6 and later
-
The NetBackup Web Services must be enabled on the NetBackup master server.
Installing the NetBackup Plugin for VMware vCenter
To install the virtual appliance and plug-in for vCenter:
- In your NetBackup product entitlement letter, locate your serial number for software downloads.
- Go to the FileConnect webpage and enter your serial number: symantec.flexnetoperations.com
- From the above link, download the NetBackup plug-in .zip file.

- Unzip the file and copy the plug-in .ova package to a location that is accessible to the vSphere Client host or Web Client.
- Log in to the vCenter server via Web Client.
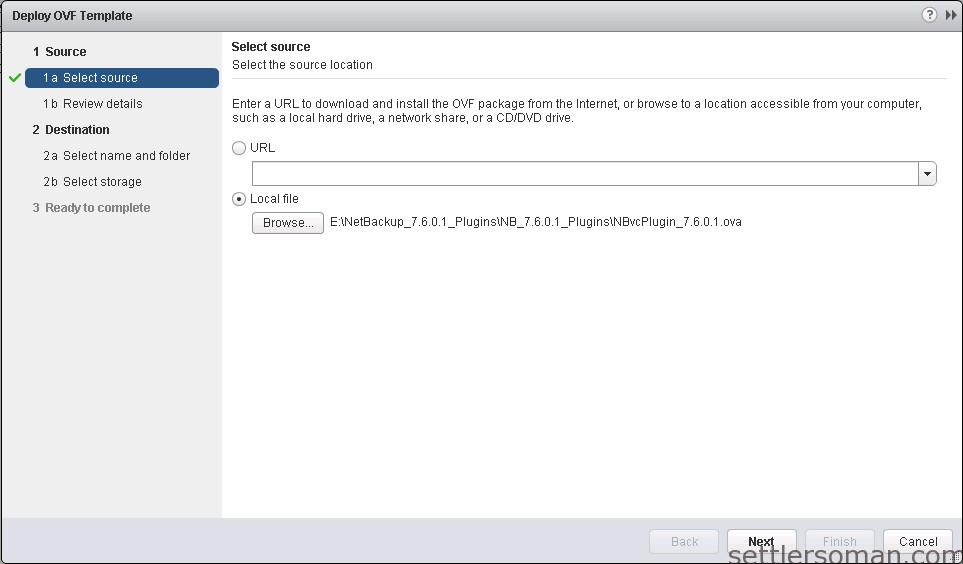
- In the Source screen, specify the NBvcPlugin OVA package location.
- In the OVF template details screen, review the general properties of this OVA template.
To accept, click Next.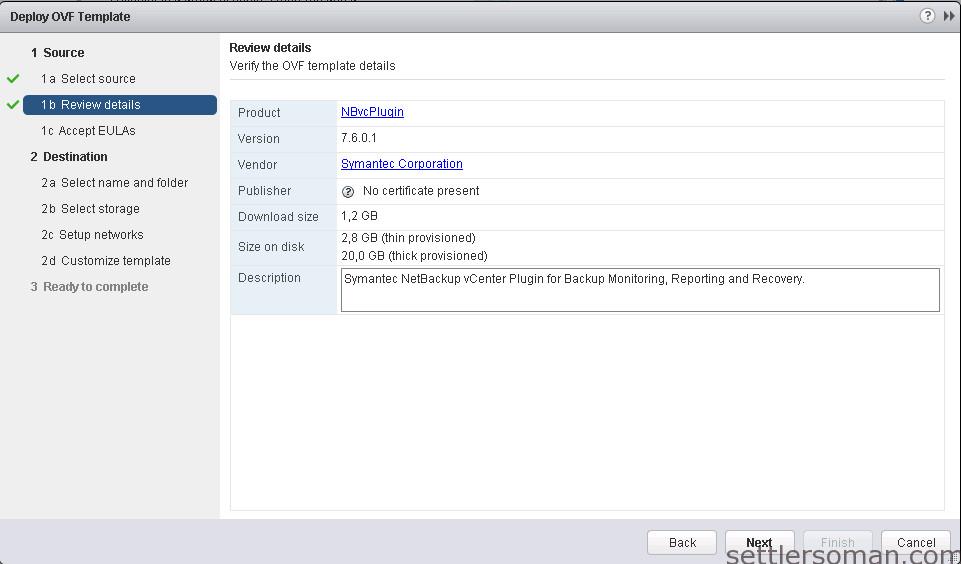
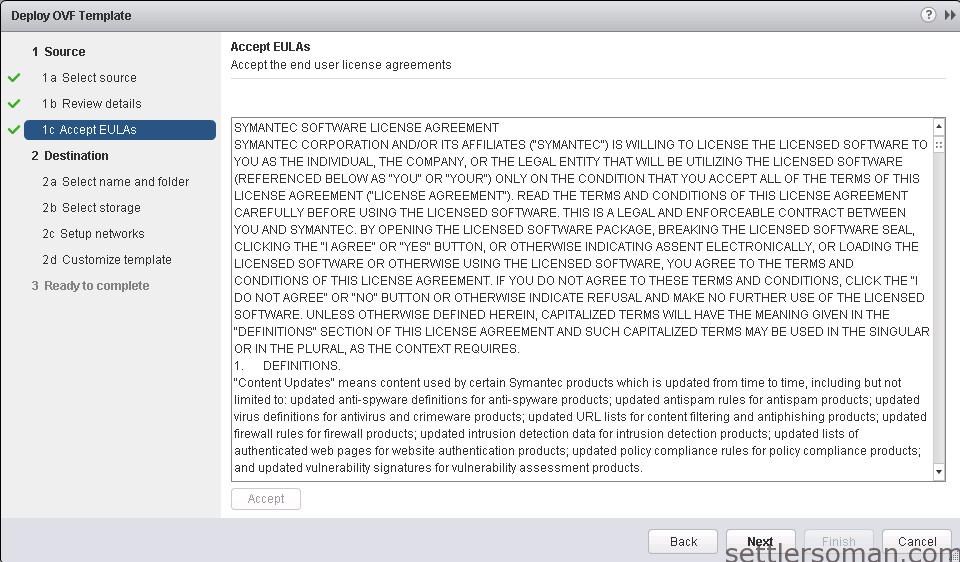
- In the Symantec End-User License Agreement screen, if you accept the terms of the Symantec End-User License Agreement, click Accept and Next.
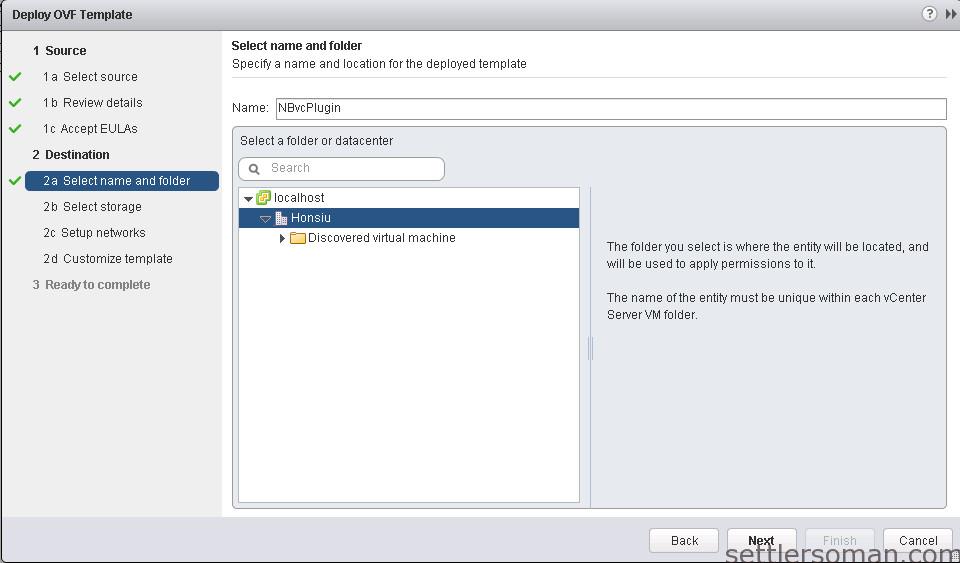
- In the Name and Location screen, enter the name you wish to assign to this NBvcPlugin.
- In the Storage screen, Select datastore that will be used to host the
NBvcPlugin virtual machine files. In the Disk Format screen, select Thin Provision or Thick Provision disk format.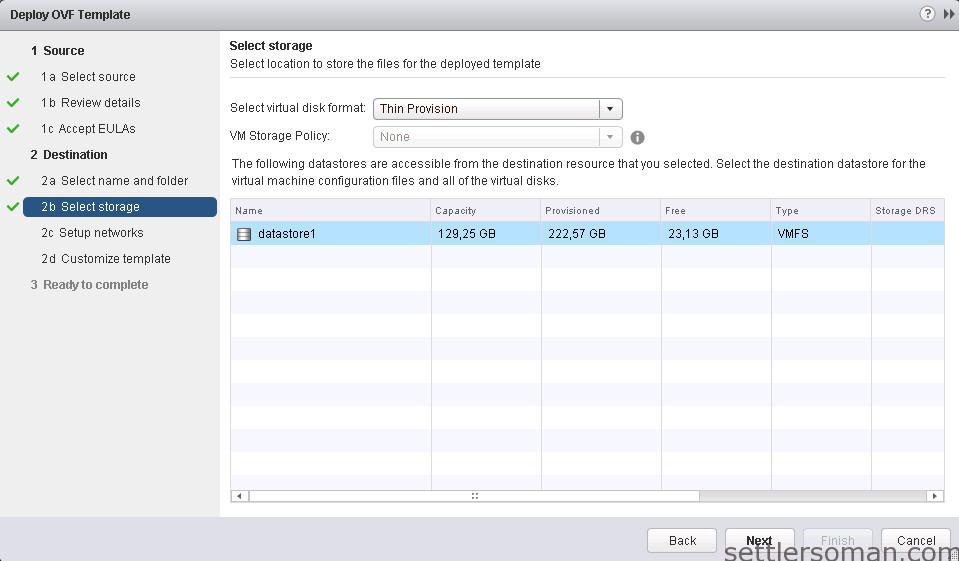
- In the Network Mapping screen, map NBvcPlugin Ethernet ports (Source
Networks) to the available vSphere virtual networks (Destination Networks). In the IP address allocation screen, select the IP allocation policy for the NBvcPlugin.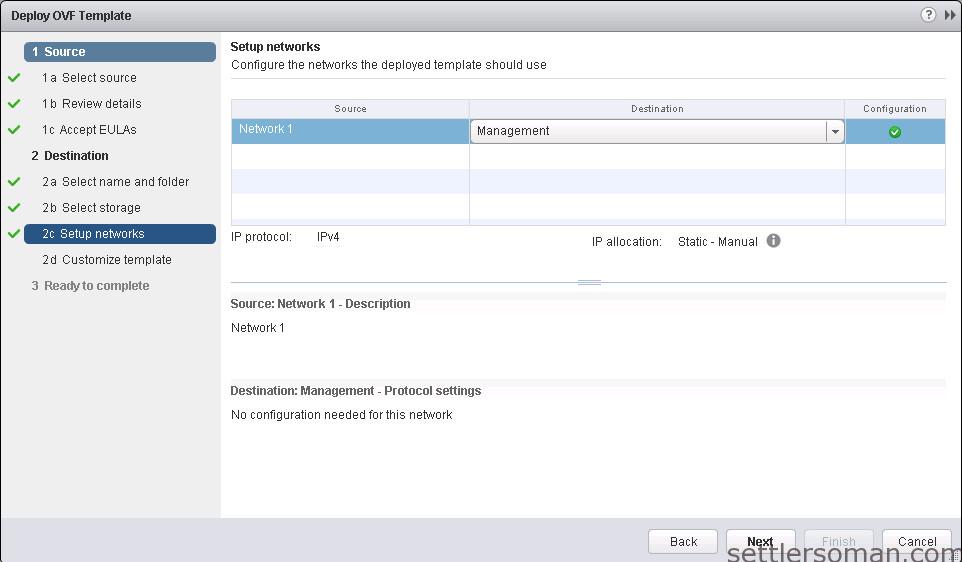
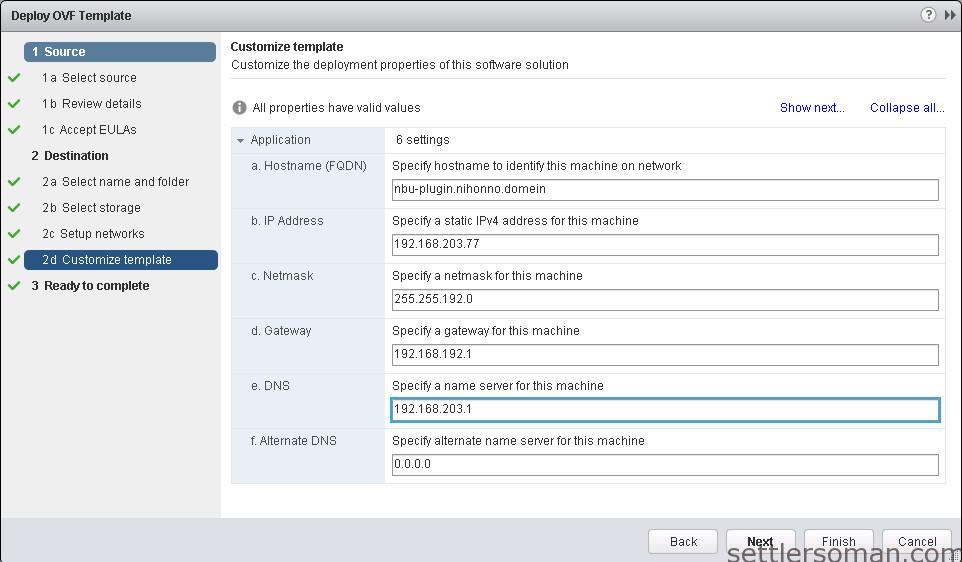
- Enter the required IP Properties.
- The Ready to Complete screen summarizes all your selections. Click Finish to create
this appliance of NBvcPlugin. The Deploying NBvcPlugin appears, showing the progress.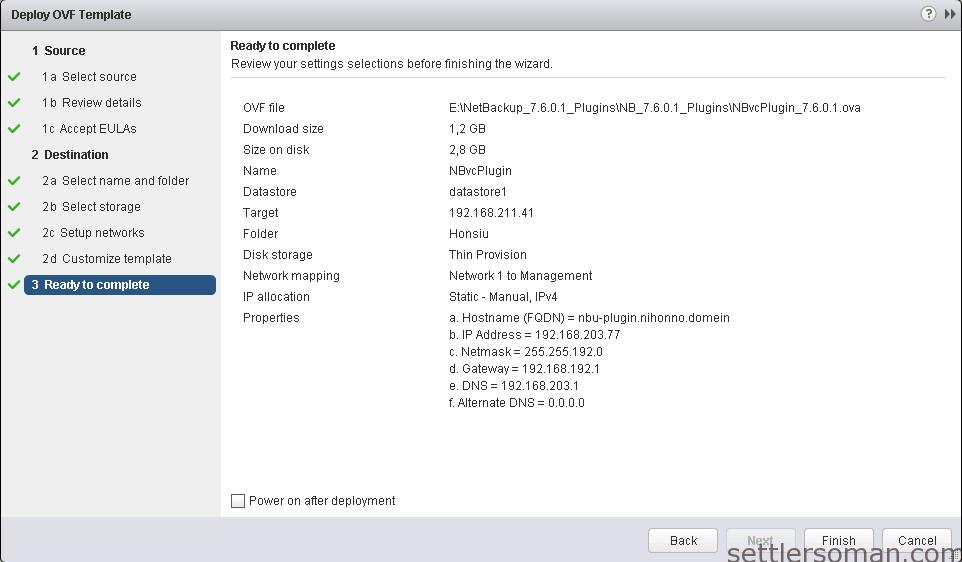
-
Click the NBvcPlugin virtual machine and click the Console tab.
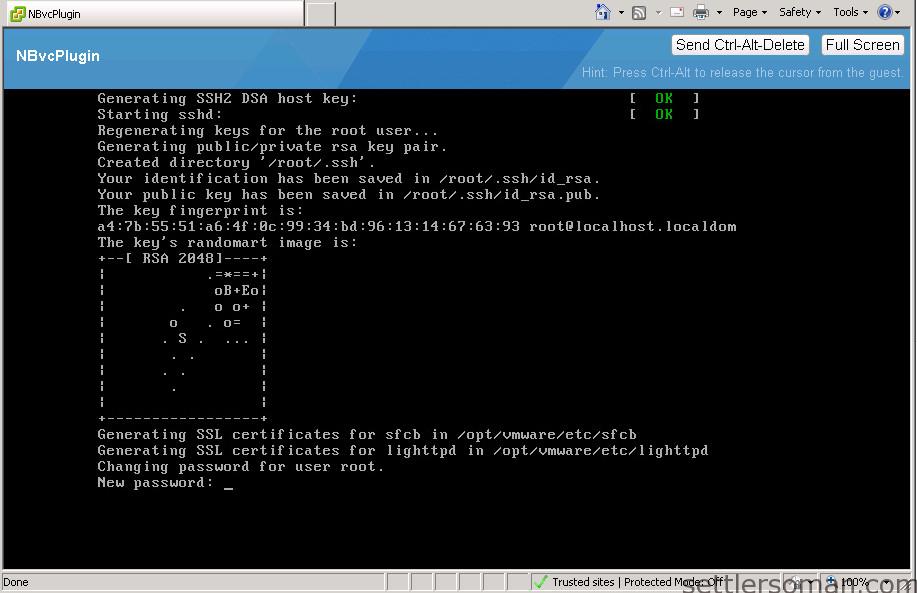
-
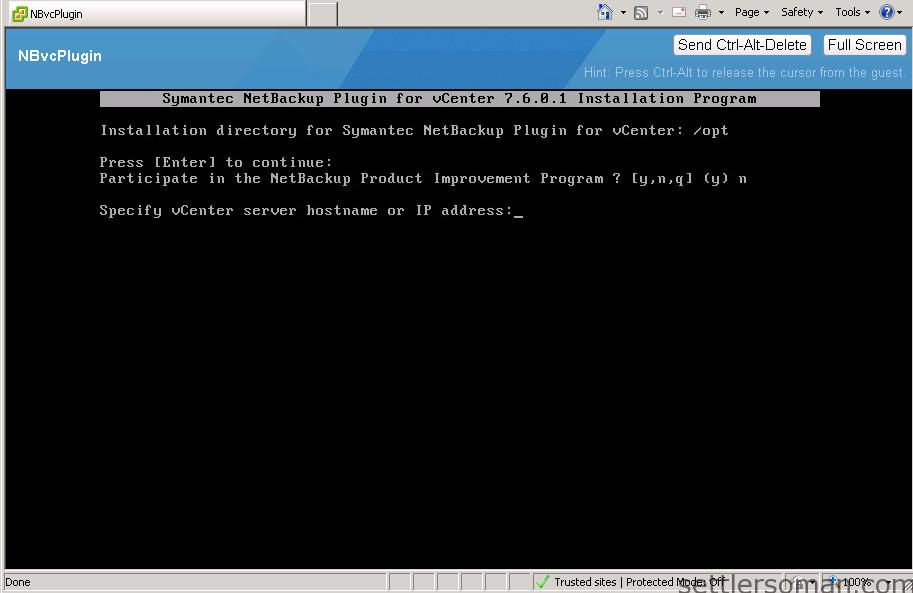
The boot process continues until the following appears: Symantec NetBackup Plugin for vCenter 7.6 Installation Program. Follow the installation prompts.
- Enter the host name or IP address for the vCenter server, and a user name and password. For the vCenter server port number and web server port number, accept the defaults. A user name should have at least privileges: Global > Manage custom attributes, Global > Set custom attribute
-
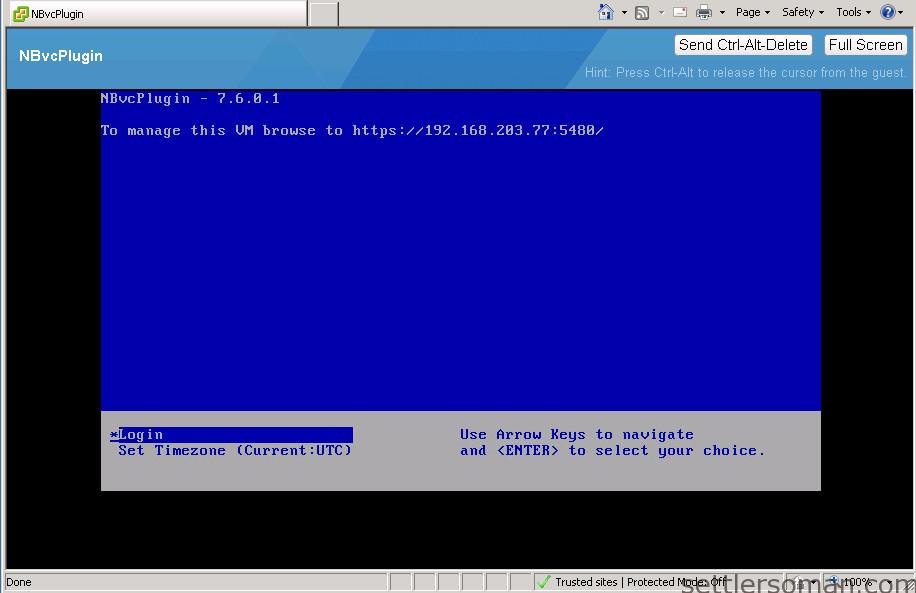
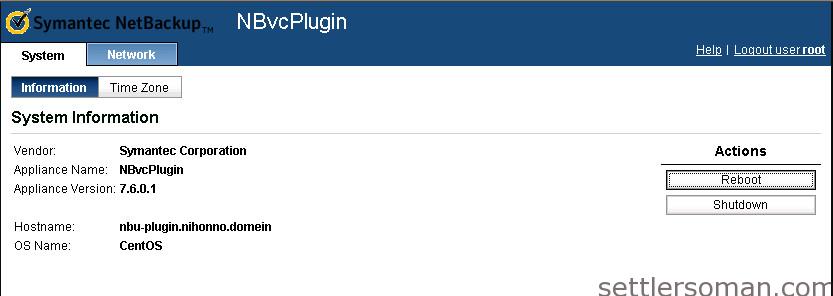
When installation completes - restart the following:■ vSphere Client■ The vCenter service (restart required only for vCenter 4.0)Your appliance should be ready as shown on below picture:
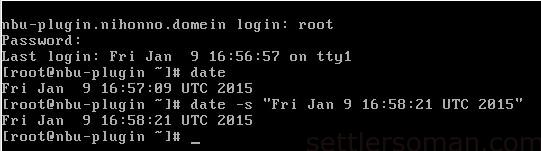
- Verify that appliance has the correct time. If the time is not correct, go to the console of the virtual appliance and use the date command to change the time, as
follows:
- You can log in to the admin page of virtual appliance - https://IP_of_NBvcPlugin:5480
- Note: I have installed the NetBackup Plugin 7.6.0.1 using Web Client but the plugin works only on vSphere Client.
After doing above steps, you should able to monitor backups of virtual machines by vSphere Plugin. You need just to confirm that the plugin is enabled. To do it:
-
In vSphere Client, click Plugins > Manage Plug-ins.
- If it is disabled the Symantec NetBackup plugin for vCenter, right-click on and
click Enable.

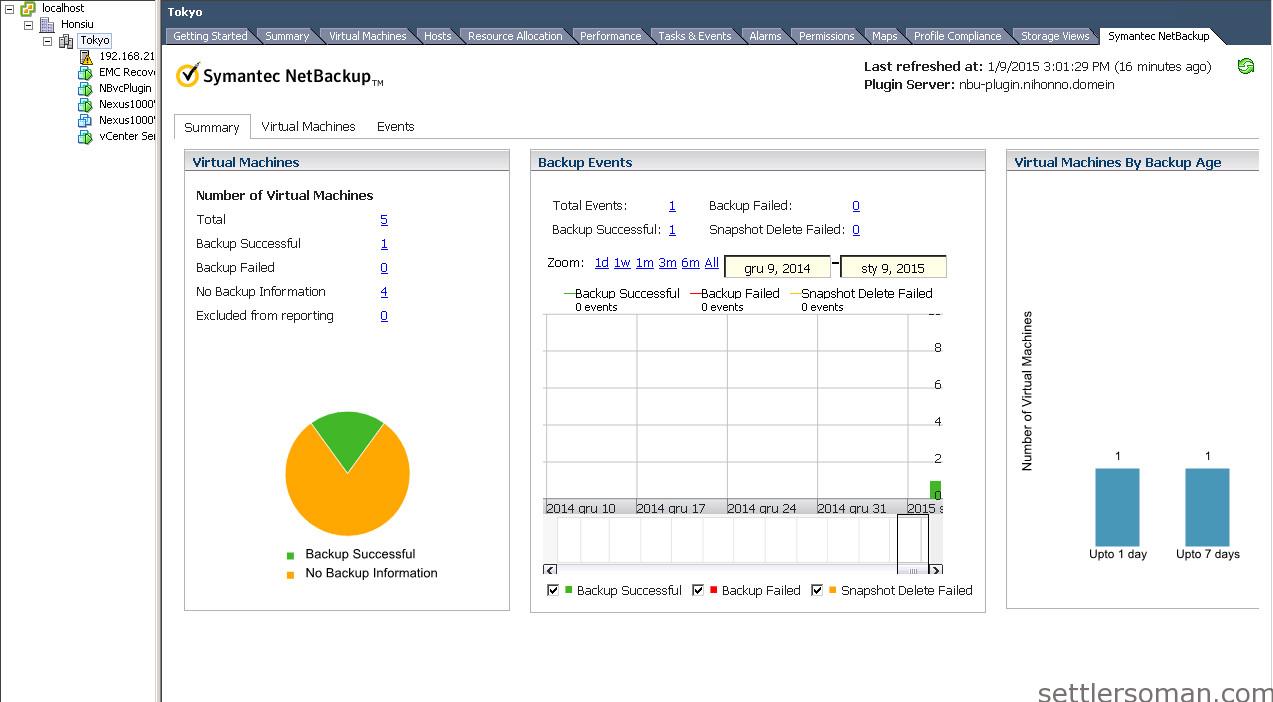
An example of NetBackup plugin report:
Optional configuration - NetBackup Recovery Wizard
The NetBackup Recovery Wizard is an optional feature of the NetBackup plug-in for vCenter, for recovering virtual machines. It is not required for monitoring virtual machine backup. There are some requirements to be done directly on NetBackup Master Server and I will write another article with configuration steps.
Conclusion
NetBackup Plugin for VMware vCenter is a useful tool which you should deploy and install at least for monitoring VMs backup by VMware Admins. It provides backup status, backup events, and backup age for the VMs in the vSphere object that you select.
UPDATE 16.01.2015: Symantec has released NetBackup 7.6.1 supporting the plugin with VMware Web Client.