NetBackup is an enterprise backup solution. If you have hundreds or thousands clients, you would not like to update those clients manually. Of course, we do not need to update clients asap, however it is recommended as some bugs should be solved and also new features added. Fortunately, NetBackup provides a feature to update clients automatically by special update policy. In this post I will show how to configure LiveUpdate in NetBackup using Microsoft IIS or CIFS share. In my opinion, the second option is easier to configure.
Configuration of LiveUpdate for NetBackup consists the following steps:
- Preparing IIS or CIFS share.
- Downloading NetBackup LiveUpdate packages.
- Configuring a LiveUpdate policy.
NetBackup LiveUpdate process
The below figure shows the NetBackup LiveUpdate process:
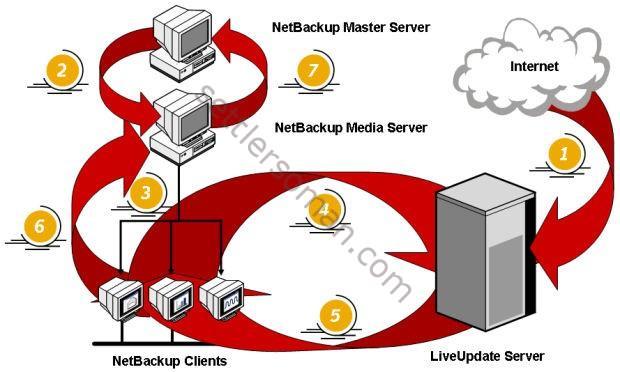
The NetBackup LiveUpdate process - thanks to Veritas.com
There are seven steps:
- This step is done manually. You have to download the update packages from Veritas site and extract them to the update folder.
- From the NetBackup Master Server, the NetBackup LiveUpdate policy is initiated.
- Nbmtrans launches (via bpcd) the LiveUpdate session on the Client by executing nbliveup on the Client.
- Nbmtrans forwards these updates to nbjm. The LiveUpdate agent on the NetBackup Client checks on the NetBackup LiveUpdate Server to see if any new updates are available
- All updates are installed in silent mode.
- The nbliveup command reports the status of the LiveUpdate session back to the caller.
- nbmtrans communicates back to nbjm, where information is updated in the NetBackup Activity monitor.
For more information please follow Veritas NetBackup Administrator's Guide and KB.
Preparing IIS or CIFS share
Follow the below steps to configure LiveUpdate using IIS on Windows servers:
- Server Manager --> Roles --> Add Roles
- Check Web Server (IIS) and install.
- Create the LiveUpdate directory in the c:\inetpub\wwwroot
. e.g. "NBU_LiveUpdate". - Open IIS Manager.
- Expand Sites --> Default Web Site --> liveupdate
- Double click on directory browsing.
- Click Enable on the right side action panel.
- Back to Default Web Site.
- Double click on MIME Types.
- Click Add on the right side action panel.
- File name extension: .flg
MIME Type: Application/octet-stream - Click OK.
- Right click Default Web site --> Manage Web Site --> Restart
Follow the below steps to configure LiveUpdate using CIFS on Windows servers:
- Create a folder name e.g. "NBU_LiveUpdate".
- Share it. Read permissions are enough.
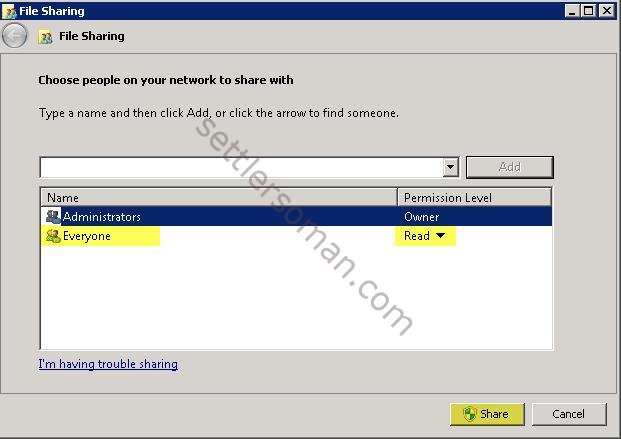
Only two steps... isn't it? 🙂
NetBackup LiveUpdate packages
Depending on version of NetBackup (full release or update) you can download LiveUpdate packages using public Veritas links or you have to use appropriate serial key number. The below figure presents version 7.6.1.2 available on public:
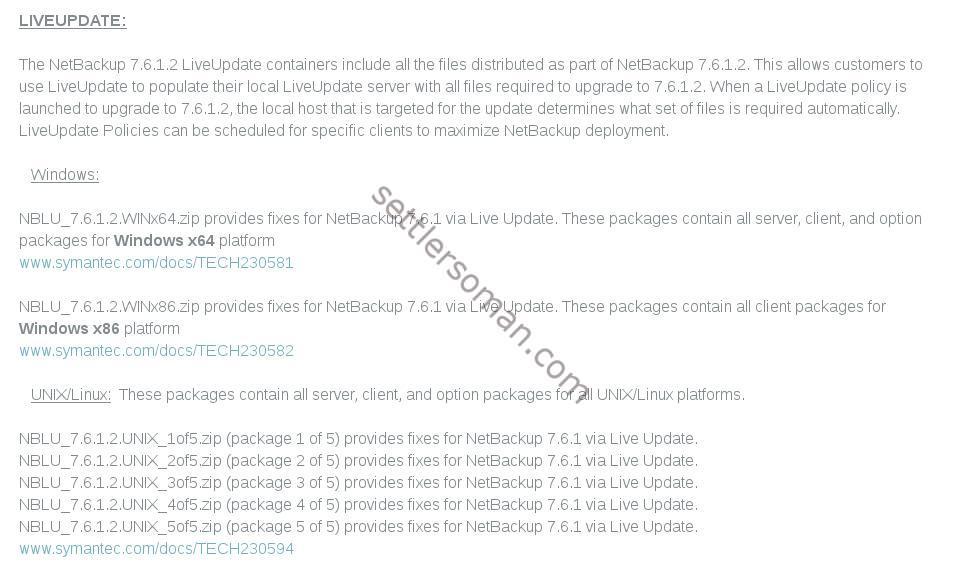 As shown on the above figure, the update packages are distributed in zip files. It is necessary to extract the contents of all zip files into the live update folder we created earlier in this post.
How to configure NetBackup LiveUpdate policy?
To configure a NetBackup LiveUpdate policy please follow the below steps:
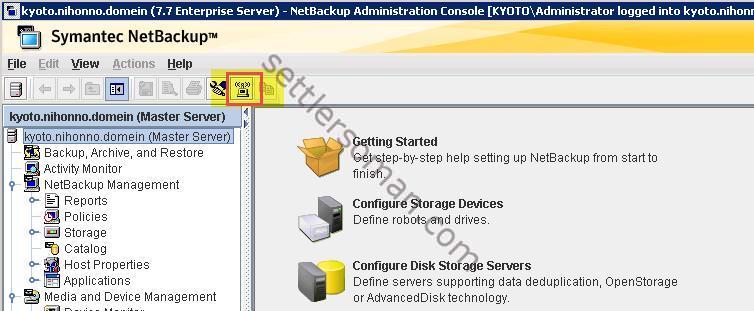
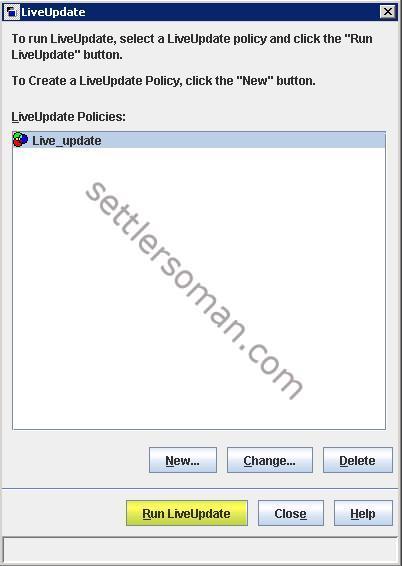
- Open the NetBackup Administration Console. Click icon shown on the below figure.
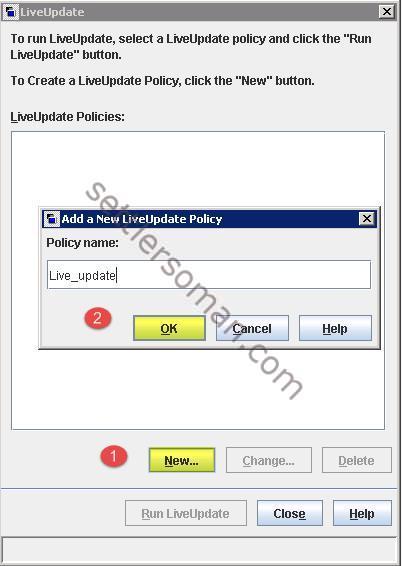
- Click New to add a new LiveUpdate policy (1) and enter the policy name (2). Click OK.
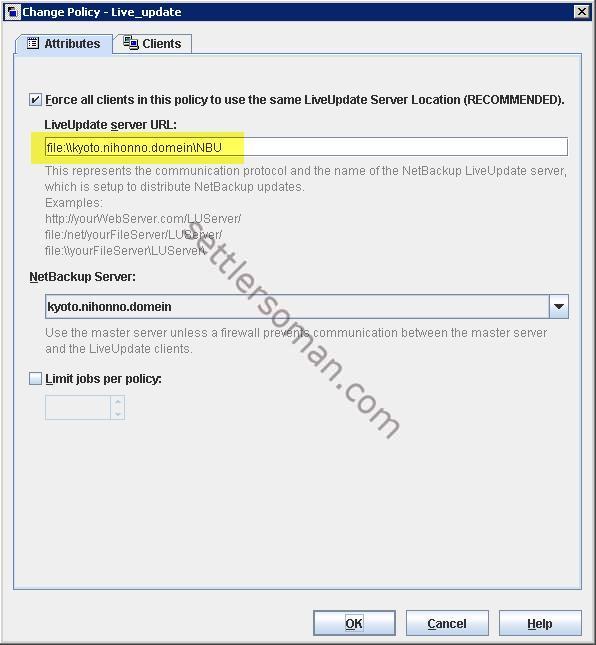
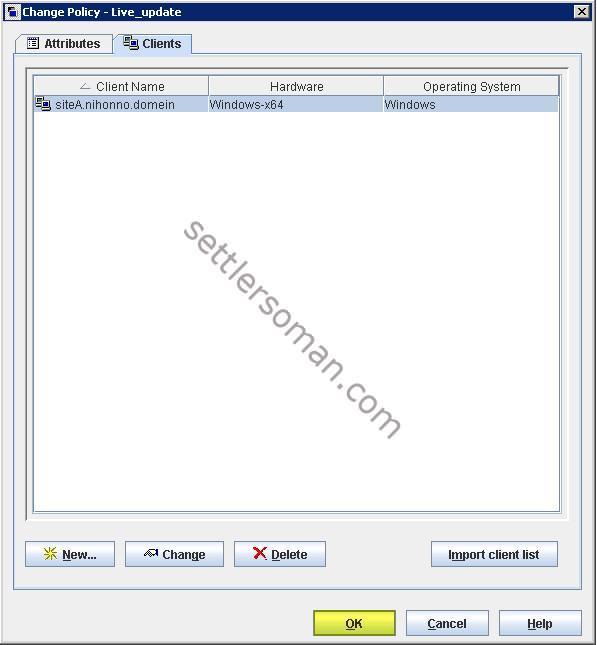
- Specify the LiveUpdate server URL. The below figure shows URL using CIFS share (recommended). Then click Clients tab.
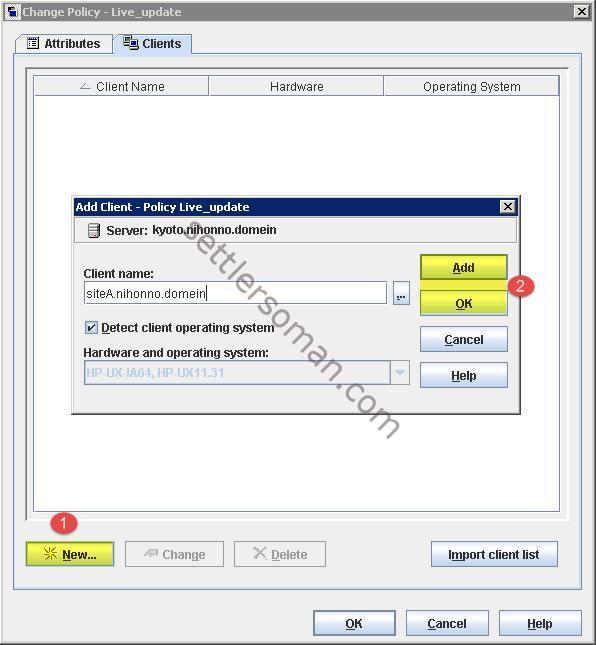
- Click New (1) to add clients. Then enter name of client and click Add or OK.
- Click OK to save the policy.
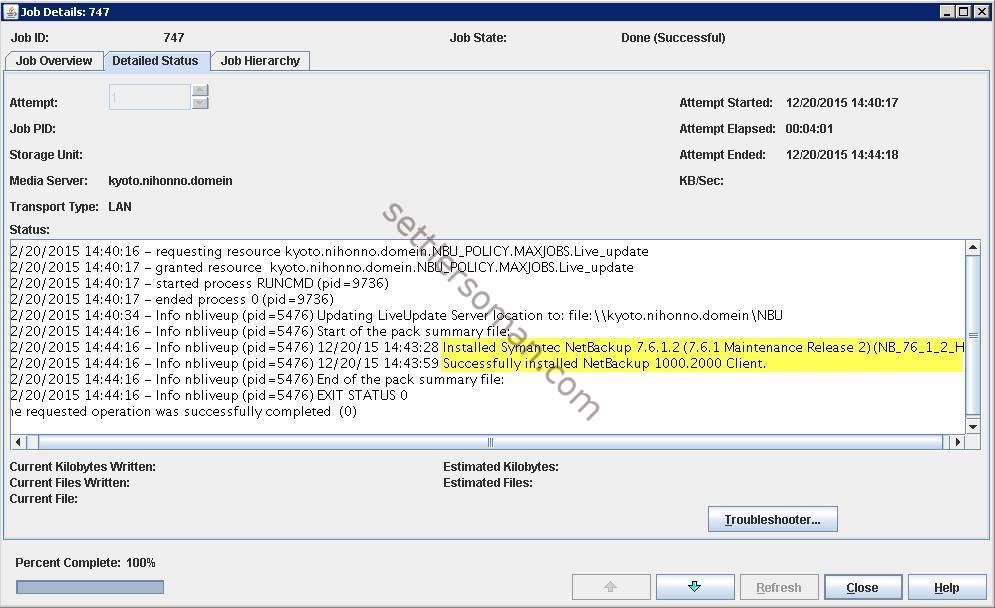
- Click Run LiveUpdate to update clients.
- Clients should be updated successfully.