
Some days ago I got email from my reader with question about how to archive files in NetBackup. NetBackup provides not only backup but also archiving as well 😛 Sometimes it can be useful to create a folder or folders where users can copy/move files and those files are archived (copied and deleted from an original place) and kept within specific time (retention). Really similar how Enterprise Vault works, however NetBackup does not leave shortcuts to archived files 😉
In this post you can find answers for the following questions:
- How to manually archive files using NetBackup?
- How to automatically archive files using NetBackup?
I will show it on Windows Client but also Linux as well. Let's start 😉
At first, we need to create a NetBackup policy with User Archive scheduler. This policy is really important because archiving in NetBackup is initiated from the Client!
To create the Archive Policy please follow the below steps.
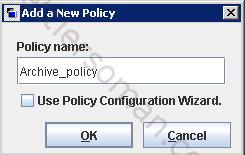
- Click "New Policy" and enter Policy name.
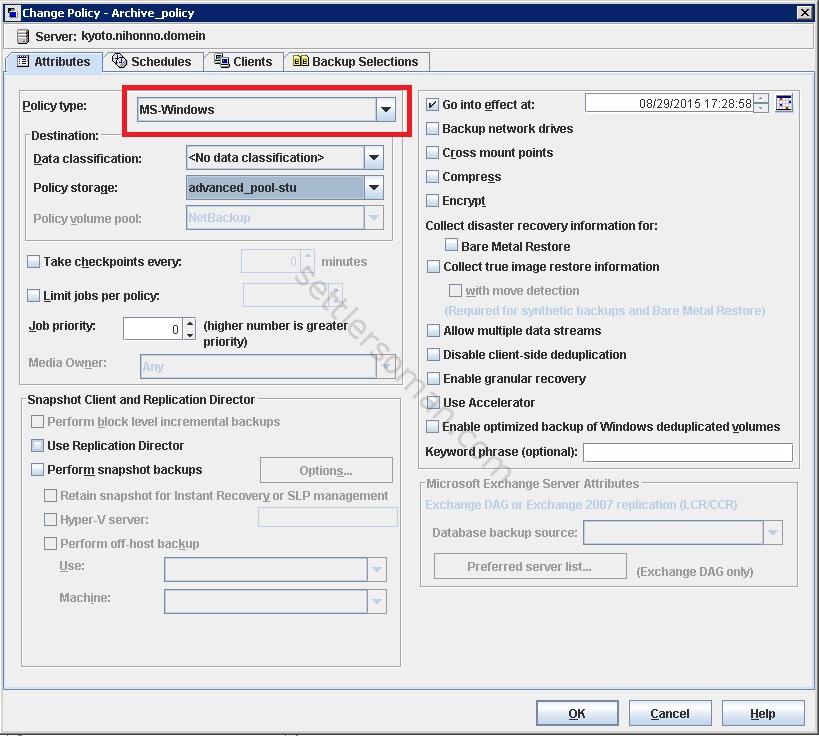
- In the Attributes tab, please choose MS-Windows or Standard Policy type. Also you need to specify some additional parameters such as Destination (Policy storage) etc.
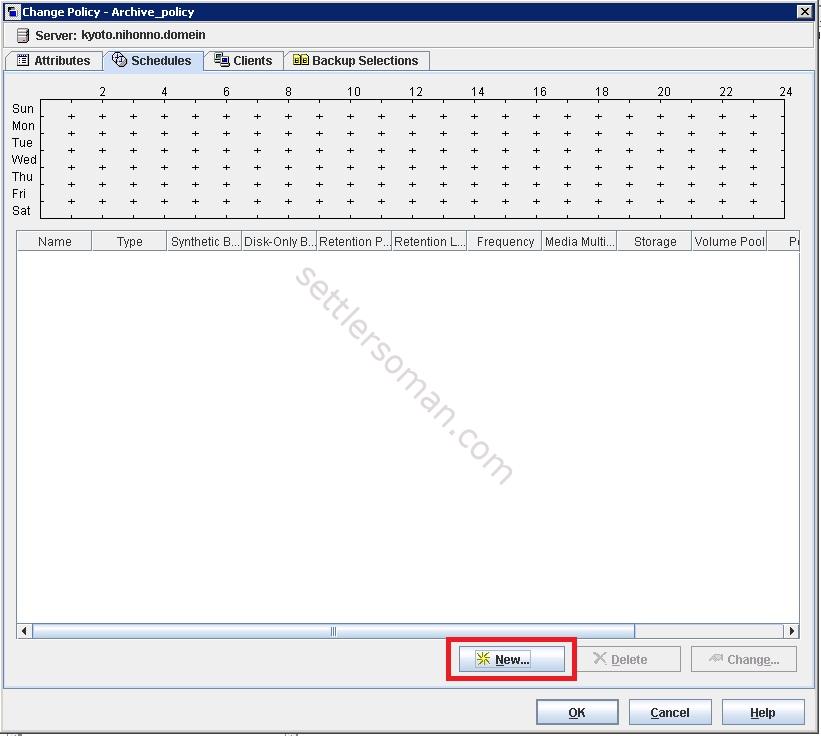
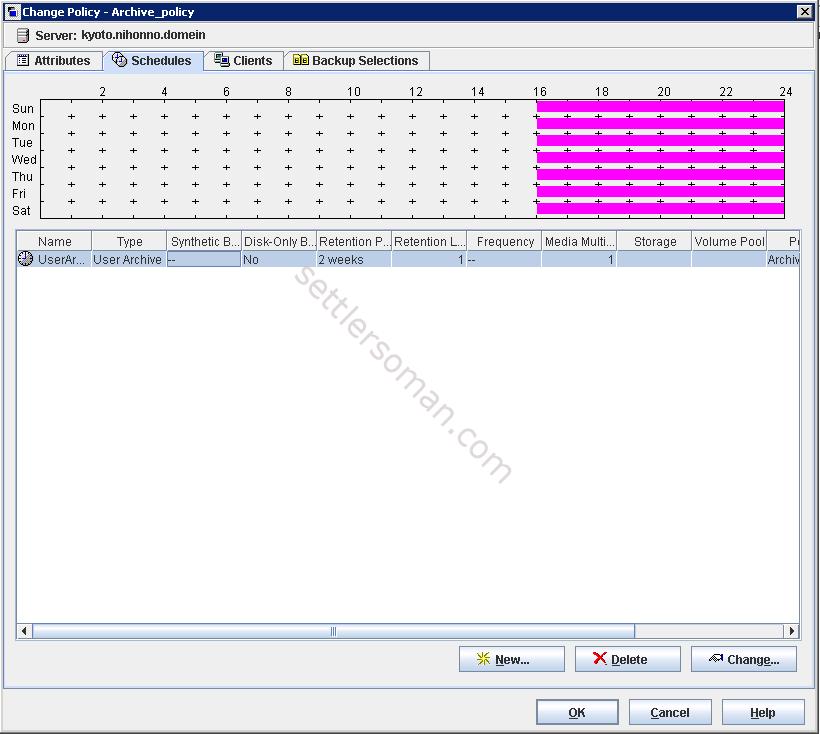
- In the Schedules tab, please click New to add a new scheduler.
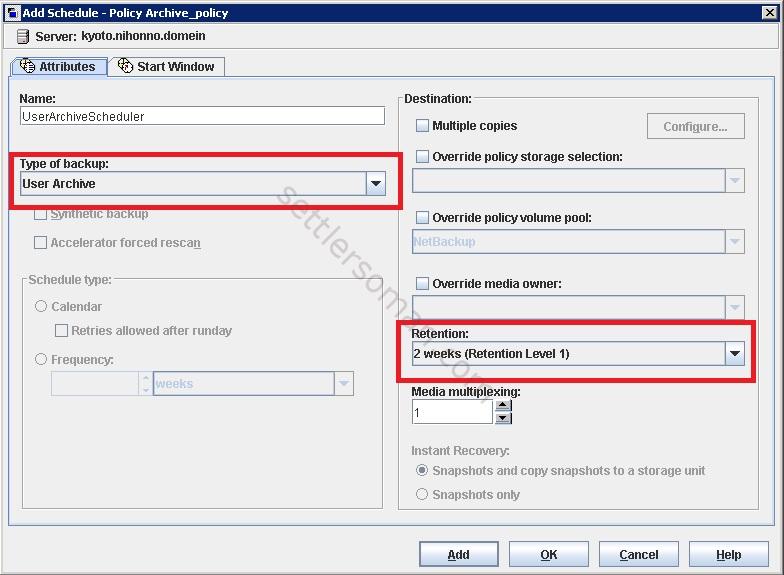
- Enter a scheduler name. Select type of backup as User Archive and select retention.
- In the Start Window tab, please define a time window during which archive jobs can start. Then click OK.
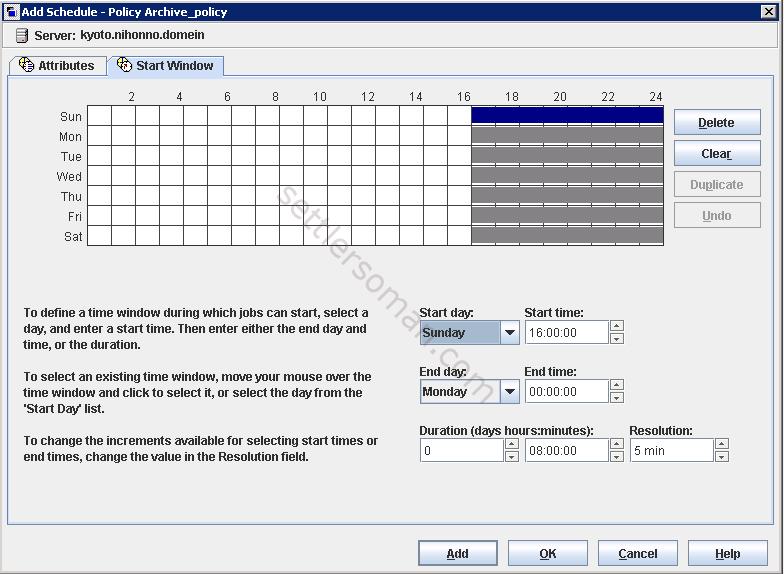
- Review a time window. Then Click the Clients. tab.
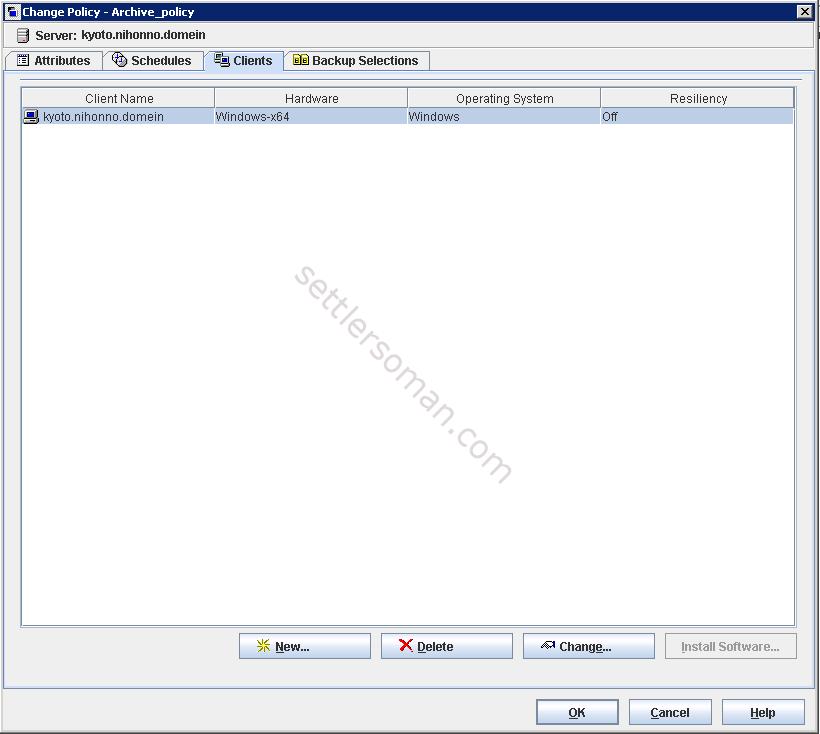
- In the Clients tab, please add all clients to be archived.
- You do not need to add anything in Backup Selections tab. Just click OK now to save the policy.
We have just created the archive policy. As I mentioned earlier, an archive job is initiated from client so now we have to do it. We have two possibilites:
- manually - via BAR GUI on client or
- automatically via script + Task Scheduler (Windows) or cron (Linux)
Manually Archive files on Windows
To archive files manually please follow the below steps:
- Launch Backup, Archive and Restore Gui.
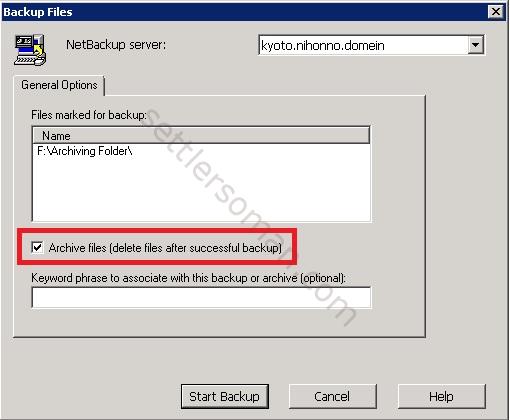
- Select folder/files for archiving and click icon shown on the below figure.

- Select Archive files (delete files after successful backup). Click Start Backup to initiate archiving.
Automatically Archive files on Windows
To archive files (on Windows client) automatically please follow the below steps:
- Create a text file (e.g. list.txt) with all sources for archiving. For example: f:\Archving Folder\*.*.
-
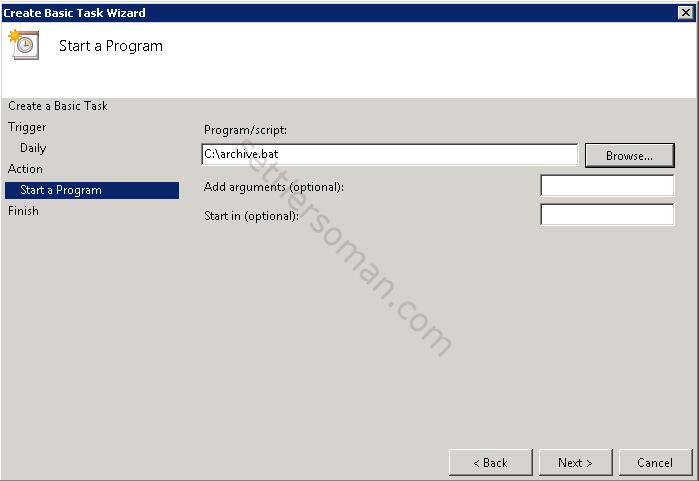
Create a batch script (e.g: archive.bat) with the following command:
"C:\Program Files\Veritas\NetBackup\bin\bparchive.exe" -p policy_name -f txt_file
In my case:
"C:\Program Files\Veritas\NetBackup\bin\bparchive.exe" -p Archive_policy -f c:\list.txt
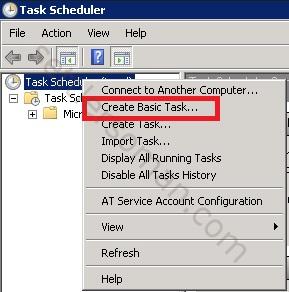
- Run Task Scheduler. Right click and select Create Basic Task.
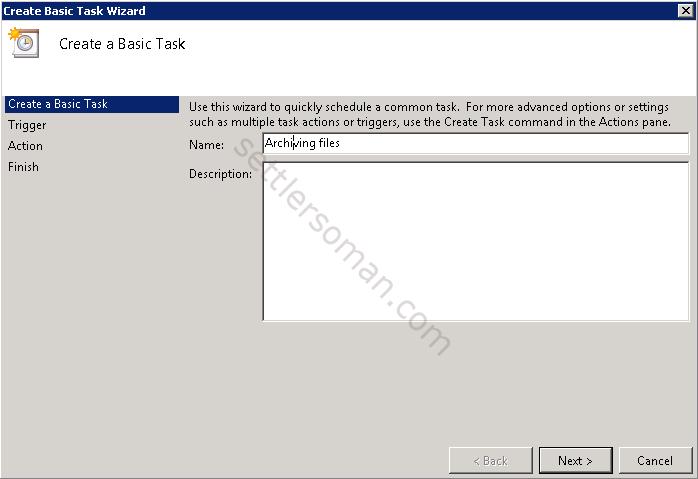
- Enter Task name. Click Next.
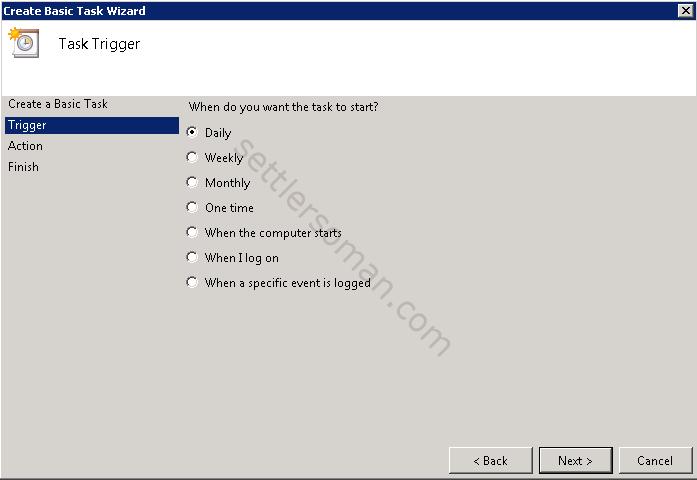
- Select Task frequency. Click Next.
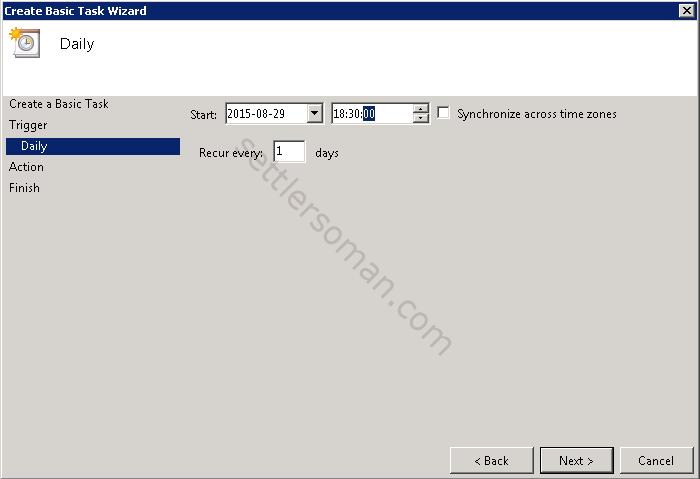
- Select Task start time. Click Next.
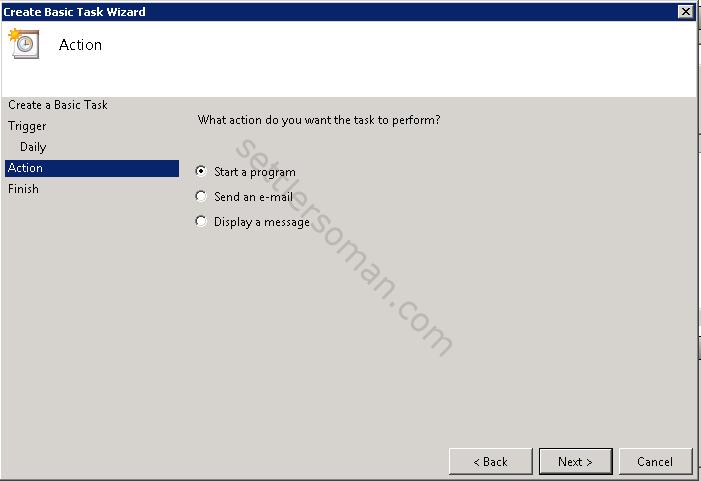
- Select Start a program. Click Next.
- Browse the script that was prepared earlier. Click Next.
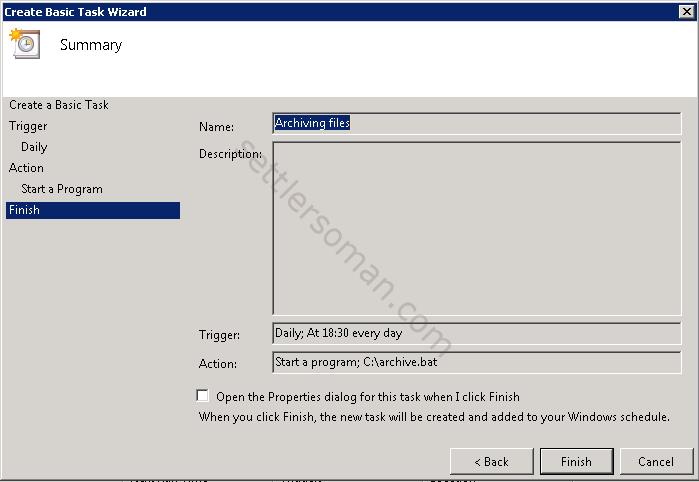
- Click Finish to add the Task.
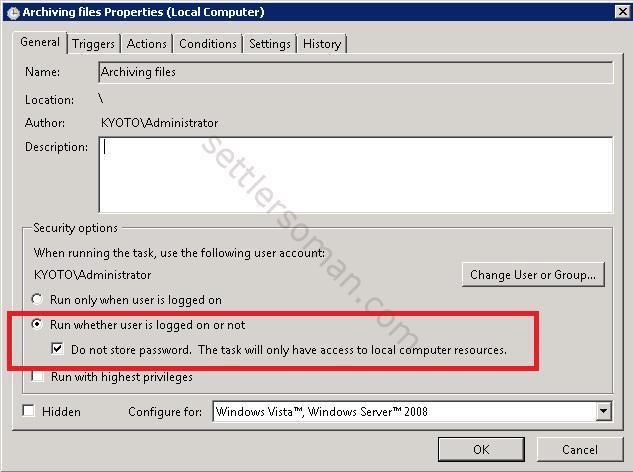
- Right click on created task and click Properties. Then select Run whether user is logged on or not. Click OK to save new settings.
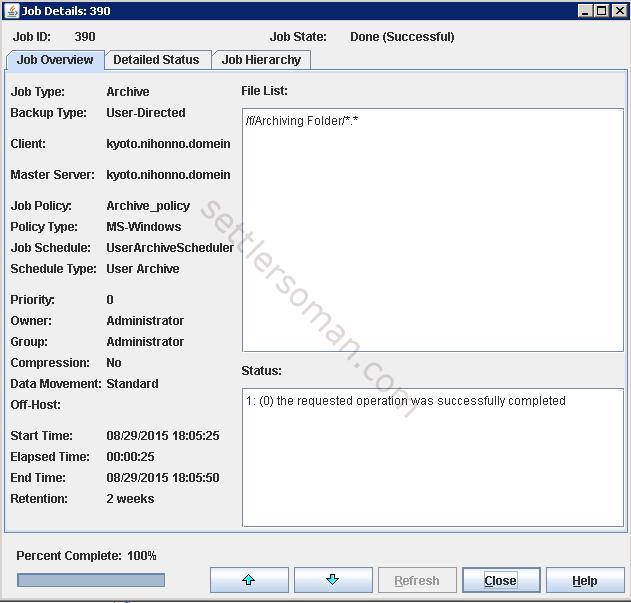
The below figure shows that an archive job is done successfully.
Automatically Archive files on Linux
To archive files (on Linux client) automatically please follow the below steps:
- Create a text file (e.g. list.txt) with all sources for archiving. For example: /home/archive/Archving Folder/*.*.
-
Create a bash script (e.g: archive.sh) with the following command:
/usr/openv/netbackup/bin/bparchive -p policy_name -f txt_file
In my case:
#!/bin/sh
/usr/openv/netbackup/bin/bparchive -p Archive_policy -f /home/archive/list.txt -
Make the script is executable.
chmod +x /home/archive/archive.sh
-
Add cron job (run crontab -e) - add the following line:
30 18 * * * /home/archive/archive.sh
Conclusion
NetBackup does not provide automatic archiving out of box... Fortunately using Task Scheduler or Cron we can archive files automatically 🙂